BTS: Studio 1
- Dec 21, 2018
- 5 min read
This post is going to be leaning more towards the technical side and maybe a reflection of what had occurred throughout studio 1 when creating The Colour Thief project. Hopefully I can remember what had happened from the start of the year but here it goes.
The first two weeks of this course was dedicated in getting to know other students. We're split into groups and did activities. In hindsight, I didn't understand why we had to do these activities but now I understand that since we're going to spend a whole year together might as well know how other artists work. The second week was spent doing a proficiency test to see what departments we're going to go in.
After that, we're split into groups again to come up with a story for our first project as a cohort. I was in the initial group that came up with the idea of Colour Thief.

After Colour Thief was chosen, we're split into our departments. I was assigned to go into the character design team, the concept art department. This involved creating designs for the hero girl or the drones. Here are the designs I did for the team.
Straight after the leads chosen the designs for the hero girl and the drone, I was then moved onto doing a final render concept art for the colour thief.

During the time on working on this, within the surfacing they were looking for people who were interested in creating materials in substance designer. Since I was free, I put my hand up for this and started researching materials that could potentially by used in The Colour Thief. I initially thought that I would have the chance to use Substance Designer, but unfortunately due to time the studio had bought credits to use in Substance Source. My first job was to make a library for substance painter so that other artists wouldn't have to look for other materials and making sure the style is consistent. Here is the pdf of the Building and Texture Variation Guide, that modellers had to follow in terms of naming their parts and a style guide for the texture artists.
For a short time as well, I was part of the modelling department and modelled Building 04 and Building 16. This was based on the concept art design of Sam. Due to short amount of time, for the UV's, we did and automatic layout and placed colour ID using Wen's plugin which placed different vertex paint colour on each part. That way texture artists can apply the materials quickly.
At this point, I was asked to become Surfacing lead. I was responsible for delivering high quality assets in an efficient manner and managing the surfacing team. Troubleshooting any creative and technical issues as they rise. Working closely with the modelling and lighting department. Ensuring that surfacing files are complete and ready for lighting. Participation in daily meetings and asset reviews. The programs we used were Maya, Substance Painter, Katana and Renderman.
My first task as Surfacing Lead was to find the most efficient workflow for artists and set the style for the buildings of Colour Thief. The brief for the buildings following the Hero girl storyline was to have two variations. One reflecting the poor side were the world is bleak and desaturated and the other is where the hero girl brings back colour into the world.
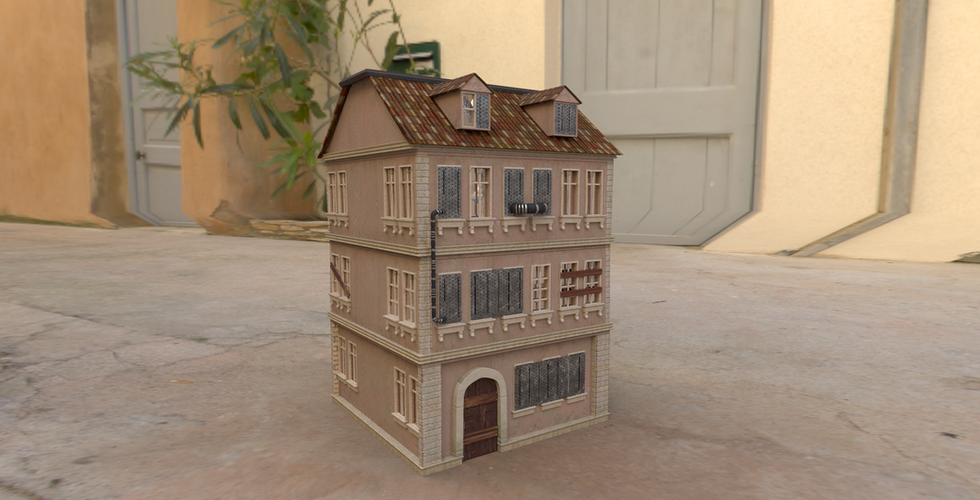
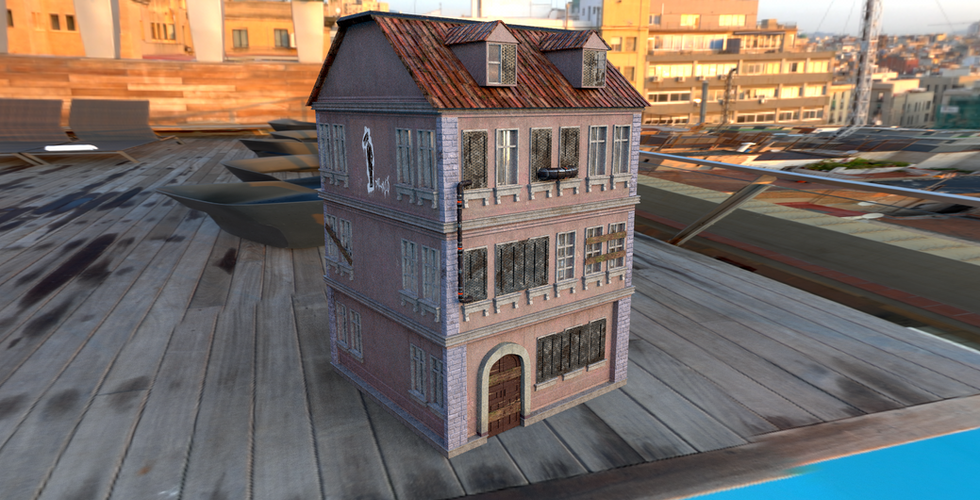
To find the most efficient workflow, I started testing styles on Building01 and would get this reviewed by the leads, Here are screenshots of different styles done for Building01. We had referenced buildings from Prague. The feedback I got on this was to remove the salmon colour and that everything was too high saturated and we needed more a difference between the desaturated and high saturated. However the graffiti worked really well on the buildings.
Here is the final look for building01 that the other artists would reference upon.
Here are the other set piece assets that I had surfaced during Studio 1.
There were up to 10 other artists on the surfacing team, with 251 modelled assets we had to surface 502 variations. This was the workflow for the surfacing of Colour Thief.
1. From the modelling department, the assets were exported as USD. & FBX.
2. Using Substance Painter - Artists would need to do essentially three passes to their buildings. The first pass is focusing on applying the substance source material onto the walls and the roof tiles. (Only using the fill layer) The second pass would be adding cracks, moss, dirt. The Third pass would be adding any paint layers.
3. As we're using the PBR - metal rough template in substance painter, our coders have created a plugin in substance painter to allow automatic export and conversion of maps to an ACES - ACEScg colour space & tex file to be read in renderman.
4. As we exported these maps - this is then published through shotgun
5. The artists then turn to Katana to render out a turntable for these assets. As there is an already made surfacing template created for the surfacers. All the artists need to do is import the texture maps and apply them onto the USD asset and send these to the farm.
6. It then reviewed and ready for dailies.
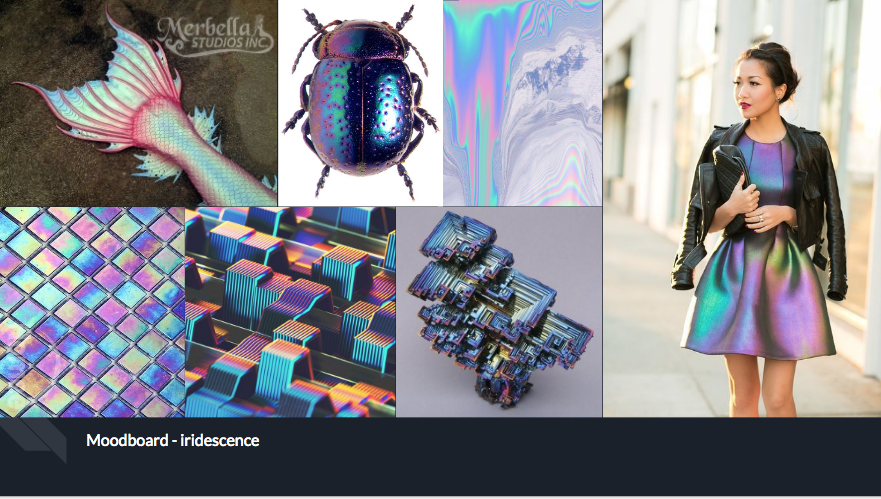
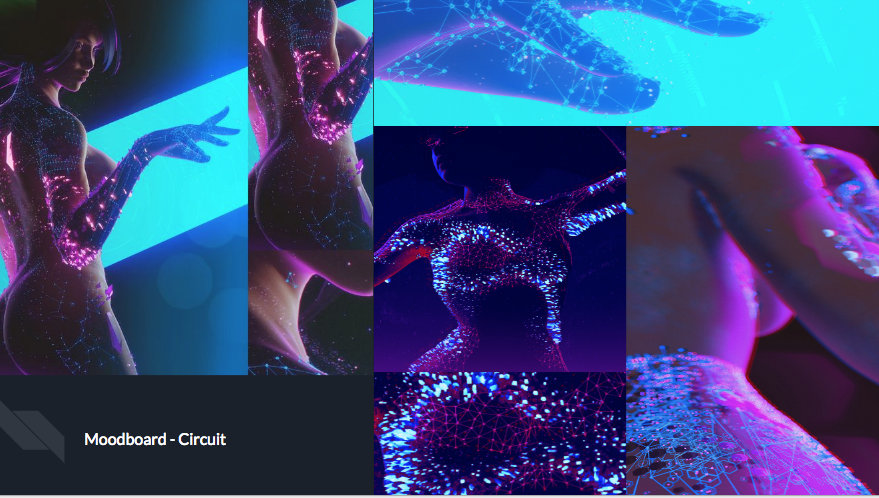
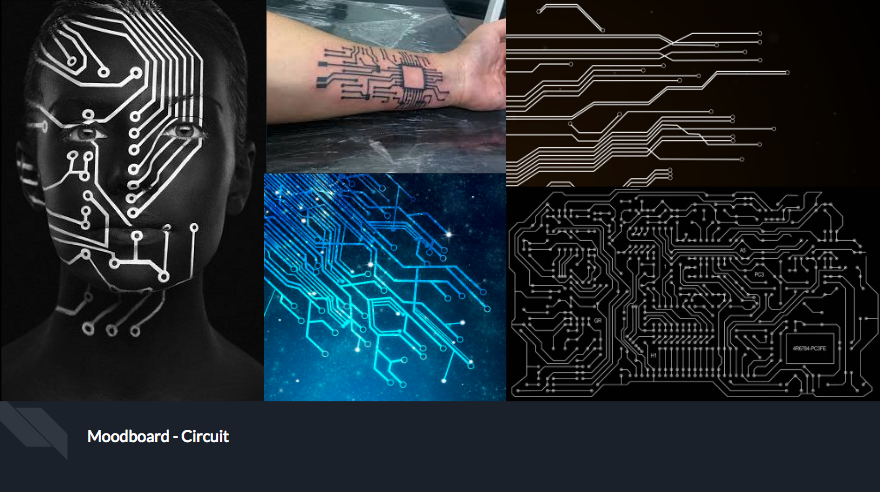
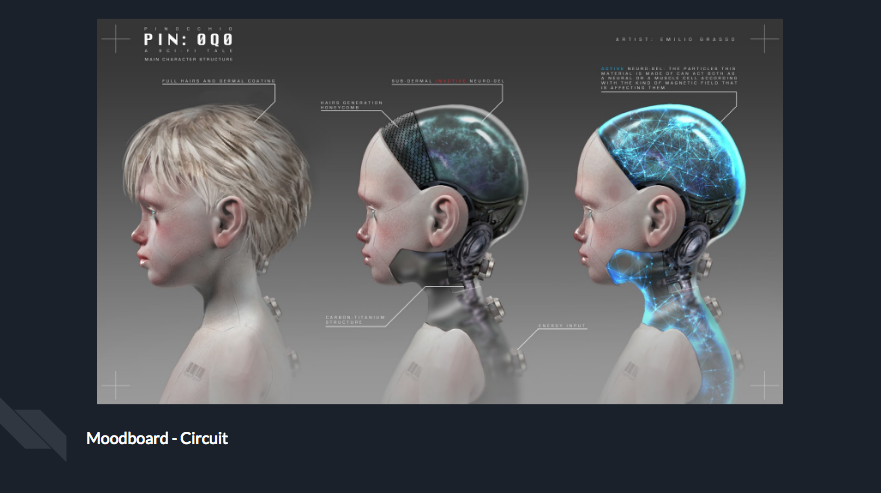
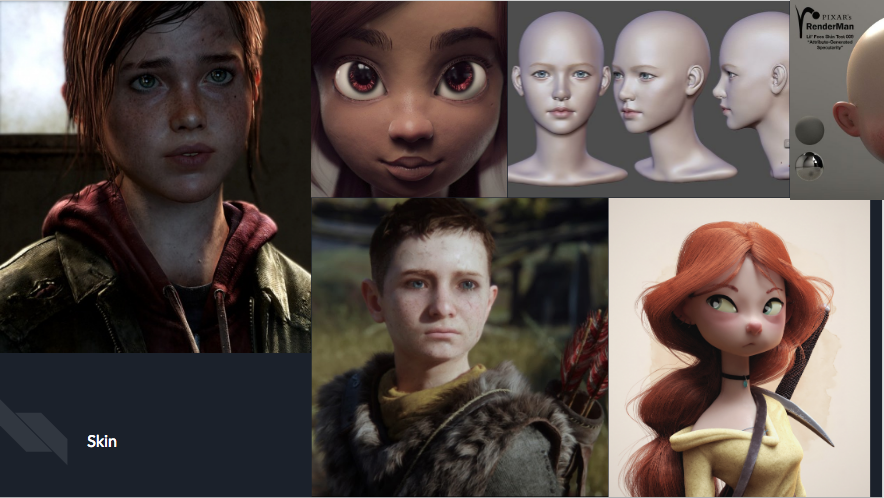
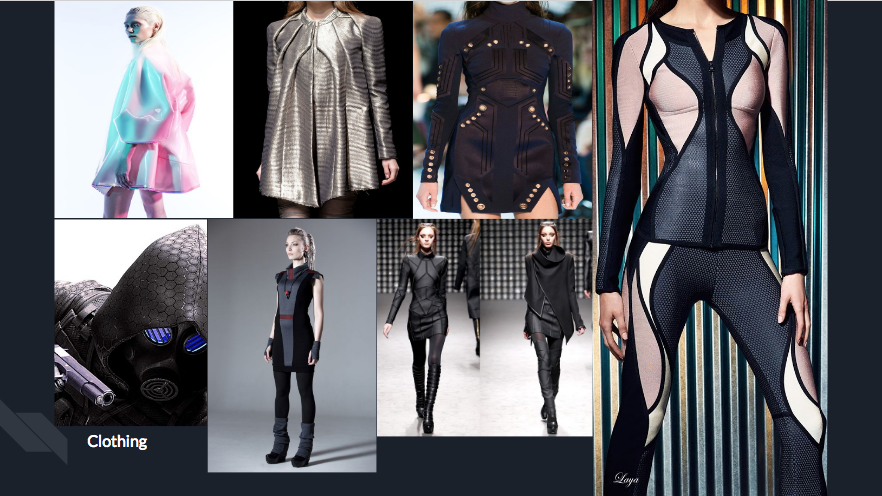
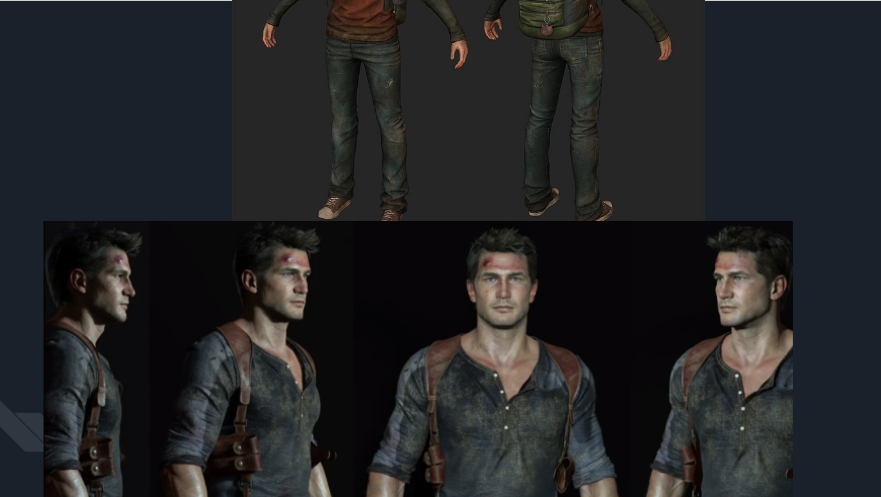
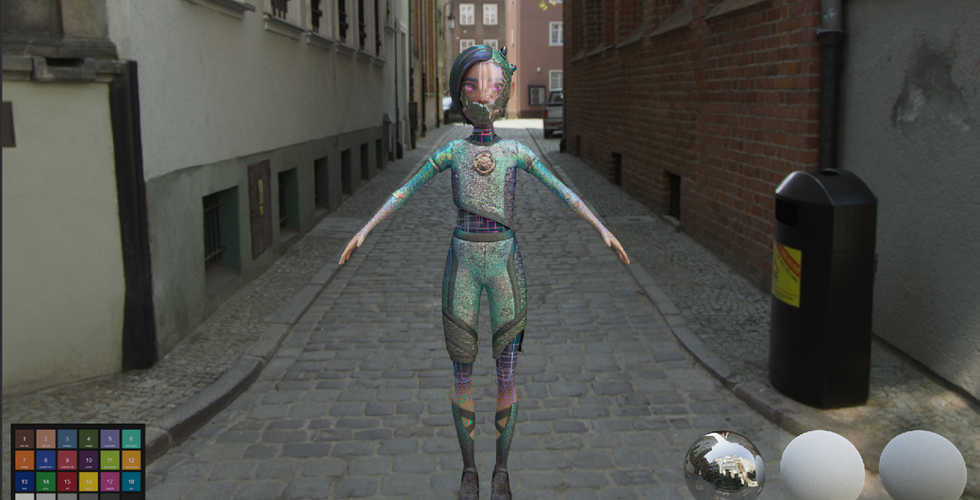
The last asset that I had to texture for The Colour Thief was the hero girl. The brief for the girl was that she was coming from the rich area and as she is running through the poor city she is leaking out colour. Essentially she had to look similar to the drones with that iridescent feature was the main look. Here is my research for the hero girl.
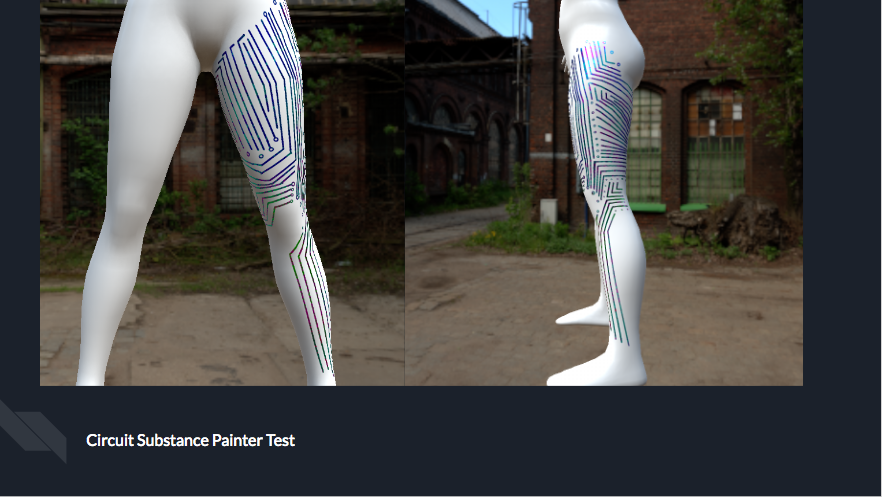
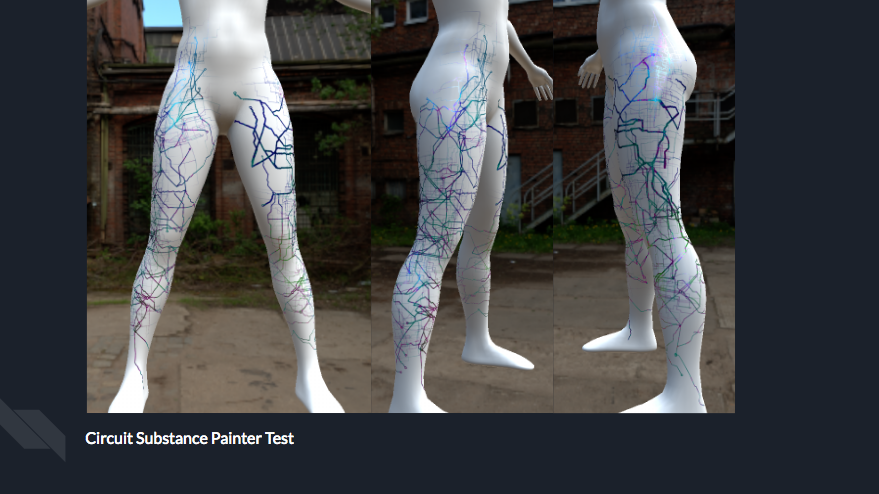
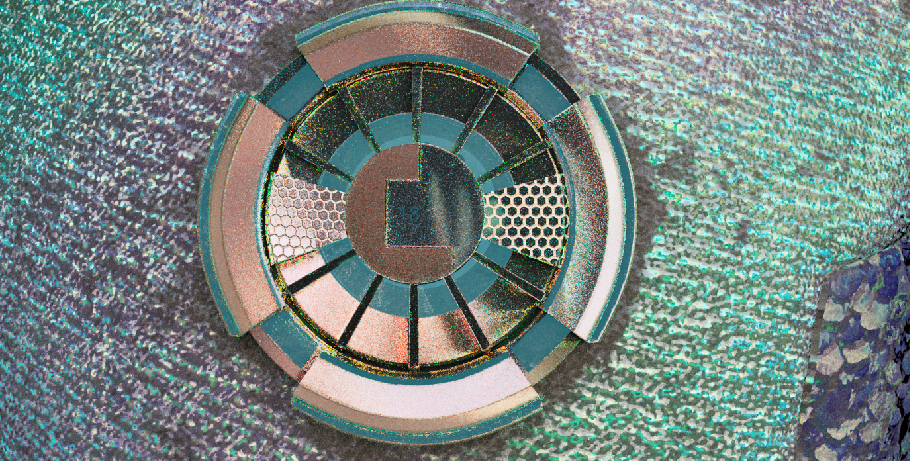
From this research, I had done tests on the circuits and playing with the look of them. In the end they really like the circuit board look and more sports wear clothing that looks high fashion. Surfacing the hero girl was very different to surfacing any other assets. A template that Emma and Daniel had already been created in Katana. This involved basic shaders being applied on the clothes, skin, hair and eyes. It was my job to create certain shader maps to make the details. My first priority was to do the Iridescent circuit map onto the skin and the clothing material. After that it was really layering more and more detail on the girl. Within katana, as we used renderman, we utilised Pxrlayer that allowed us to use PxrLayerSurface to layer each surface material. This was the layering system of the hero girl.
1. Skin
2. Iridescent
3. Clothes
4. Clothes Tear
5. Metal pieces
6. Dirt
Here are also some screenshots of the WIP of the hero girl.
Here are the final renders:


Here are some tutorials that I definitely recommend when surfacing:
1. Allegorithmic tutorials: https://www.youtube.com/user/Allegorithmic
- Great for basic introduction to substance painter and designer
2. Micheal Pavlovich: https://www.youtube.com/channel/UCWiZI2dglzpaCYNnjcejS-Q
- Step by step tutorial on both substance and zbrush
3. GDC 2017: Face Texturing in substance painter with Magdalena Dadela: https://www.youtube.com/watch?v=9ywhVkZBtq8
- Awesome tutorial on how to texture the face and the workflow.
4. PINNNTEREST : love pinterest, always have it open just for inspiration.

























Comments